What is Google AdSense?
Google AdSense is an advertising network run by Google that allows bloggers and website owners an opportunity to earn money by showing text, image, video, and other interactive advertisements on their websites. These ads are targeted by site content and audience, so they’re highly relevant.
Google AdSense is hassle-free because you don’t have to deal with advertisers or worry about collecting money. Google administers and maintains relationships with advertisers. They collect the payment, take their management fee, and send the rest of the money to you.
AdSense offers cost-per-click ads (CPC) which means that you earn money every time a user clicks on the ad on your website. The amount received per click varies based on a variety of factors.
How to Connect Google AdSense To your site
If you run a website, you probably rely on Google services for analytics tracking, performance testing, and more. Managing all of them can be tricky, which is why there’s now a plugin called Site Kit for WordPress.
With the official Google Site Kit plugin, you can connect all your favorite Google webmaster services to WordPress. Where applicable, you’ll also be able to view data inside your WordPress dashboard, like your statistics from Google Analytics.
Step 1: Install and activate Google Site Kit
Installing and activating Google Site Kit works just like any other WordPress plugin. Once it’s active, it will prompt you to jump straight to the setup process:

Click on the Start Setup button to continue.
Step 2: Verify ownership of your website and connect Search Console
After you start the setup wizard, Site Kit will ask you to sign in using your Google account to verify ownership of your WordPress website:

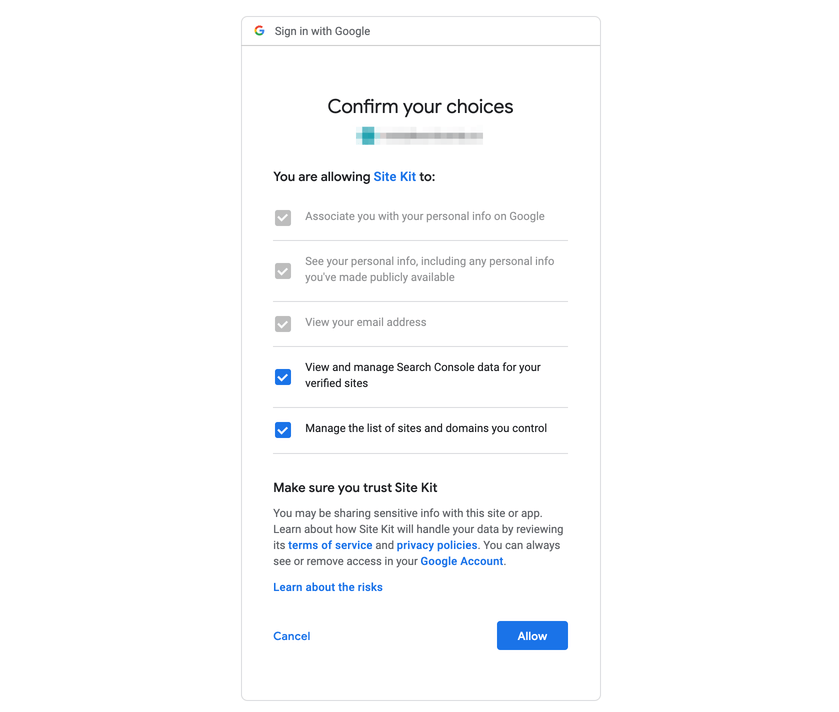
You will then need to authorize a handful of permissions to let Site Kit access key data about your website and your Google account. Click on Allow for each prompt to continue:

If you’ve already connected your WordPress site to Search Console, at this point Google Site Kit will automatically integrate it. Otherwise, you’ll be prompted to set it up:

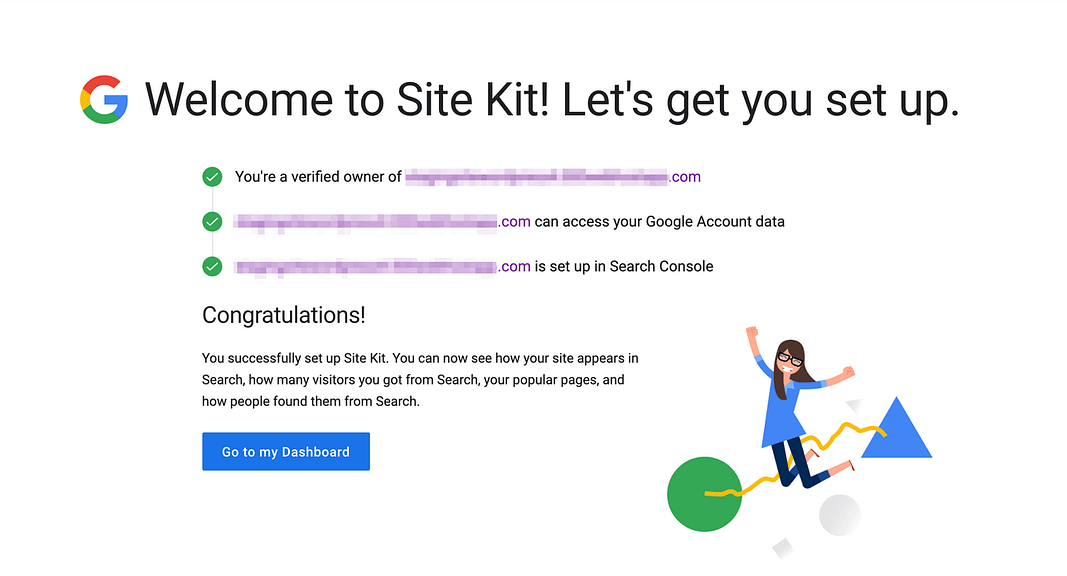
Click on the Add site button and Google will handle the rest. You’ll then be ready to use the plugin:

That’s it for the basic setup process.
Step 3: Integrate your preferred Google services

Now to Integrate google Adsense just click on connect service in the Adsense tab. It will then take you to the sign-in page where you have to log in to your Adsense account. Once sign-in, it will again ask for a bunch of permission and just click Allow and it will connect your site.
 Once done, Adsense now asks to let Site kit place AdSense code on your site to get your site approved and it is a recommended setting. Just click connect.

Now, it will take you to the AdSense account. Just click Next and Submit and your site will be added to the Adsense account. head back to your WordPress dashboard and complete the final steps.

Click on Continue and all the process is done. Your site is successfully added to the Adsense account. Google takes up to 48 hours to review your site and approve it. You will be notify trough email.
After that, you might get some error/problem on your AdSense account. Like this

To fix this error or risk, you simply need to click Fic now option and download the give ads.txt file. After this, just copy the code that you got from the downloaded file.

Go to your dasboard>plugins>Add New and install a plugin name File Manager. Once installed, go to file manager. Click on Add new option and choose TXT file and create a new ads.txt file. Once creaded, you will get Edit now option or simple right click on that file and select edit file. Then paste that code that you copied. Then click save and exit. One the process is done, you can remove File Manager plugin.
Is using Google Site Kit worth it for your website?
Overall, there aren’t many bad things to say about using Google Site Kit for WordPress. At most, it might be a bit overkill if you only plan on connecting one Google service.
However, if you plan to take advantage of several of them, Site Kit is a big timesaver. Plus, integration couldn’t be easier. In the case of PageSpeed Insights, for example, it only takes a single click.
Another positive is that Site Kit doesn’t pressure you to connect more services at any point. If you only want to use Search Console, for example, you can do that without pesky popups in your dashboard recommending Analytics.
Additionally, Site Kit shouldn’t slow your loading times – it doesn’t add any new content to the front-end of your site beyond the basic scripts needed to make the service function (like the Google Analytics tracking script, which would still be there even if you opted to manually connect Google Analytics to WordPress).

